Seni pencahayaan gandel liontin kustom
Panduan langkah demi langkah kami untuk proses desain dan produksi
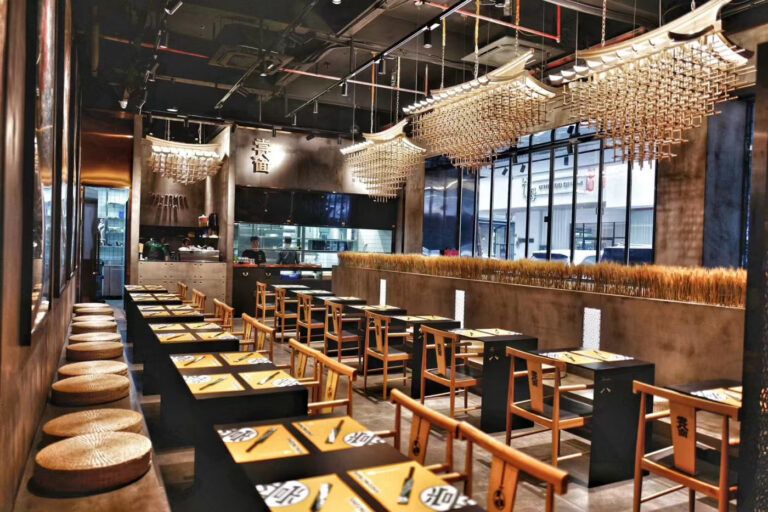
Chandelier kustom lebih dari sekedar sepotong pencahayaan dekoratif; Mereka sebenarnya adalah perpaduan seni, desain, dan rekayasa untuk memenuhi kebutuhan estetika setiap klien dan ruang yang unik. Apakah Anda seorang desainer interior, arsitek, insinyur, restoran, hotel untuk skenario aplikasi lainnya atau pemilik rumah pribadi, memahami proses rumit di balik penciptaan lampu gantung khusus dapat membantu Anda membuat keputusan yang tepat.
Hubungi Divisi Kustom kami
01.
Konsultasi awal dan berbagi konsep
Proses menyesuaikan lampu gantung dimulai dengan konsultasi dan berbagi konsep. Fase ini adalah langkah pertama yang paling penting. Kita perlu memahami gaya bangunan klien, ruang di mana lampu gantung akan dipasang, efek yang diinginkan, elemen desain yang disukai, dan persyaratan atau preferensi spesifik lainnya. Dengan berbagi dengan klien ide -ide, inspirasi, denah lantai, ketinggian, dan beberapa gambar spesifik dari lampu gantung, dll. Untuk mendapatkan informasi yang lebih spesifik, lebih mudah untuk memulihkan sepenuhnya visi yang ada dalam pikiran klien ketika melakukan proses desain.
Poin diskusi utama meliputi:
- Analisis Ruang: Dimensi, ketinggian langit -langit, fungsi kamar, dll.
- Preferensi desain: Gaya (mis. Modern, klasik, industri), elemen desain, referensi rendering, pemilihan material, persyaratan pencahayaan, fitur produk, dll.
- Anggaran dan Garis Waktu: Menetapkan ekspektasi untuk jangka waktu biaya dan produksi.

02.
Rendering desain
Setelah mengumpulkan semua informasi yang diperlukan, tim desain kami mulai bekerja pada sketsa awal dan rendering 3D dari lampu gantung. Gambar -gambar ini membantu klien membayangkan produk akhir. Kami biasanya menyediakan beberapa opsi desain untuk umpan balik dan revisi klien.
Poin diskusi utama meliputi:
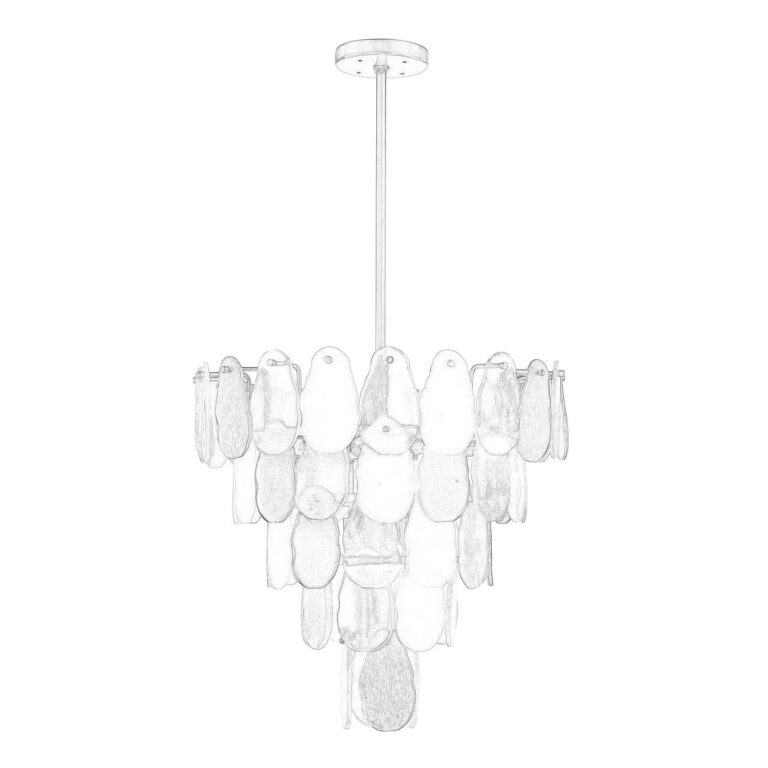
Sketsa awal
Gambar yang digambar tangan atau digital dari kemungkinan desain.

Rendering 3D
Rendering yang terperinci dan realistis tentang bagaimana lampu gantung akan terlihat di ruang yang dimaksud.
03.
Kontrak penandatanganan
Setelah mengkonfirmasi gambar, sampel material dan catatan, niat kontrak ditentukan. Berdasarkan informasi yang dikonfirmasi, kami menentukan biaya produk aktual dan waktu penyelesaian akhir, serta detail transportasi dan pemasangan. Setelah mengkonfirmasi detailnya, kedua belah pihak menandatangani kontrak.
Rincian kontrak yang dikonfirmasi spesifik:
-Ingala Produk Individu dan Jumlah Pesanan Total: Ukuran Produk, Bahan, Warna, Catatan dan Jumlah Pesanan Total.
-Produksi Rincian: Waktu penyelesaian barang, detail inspeksi, periode garansi dan sebagainya.
-Matter yang membutuhkan kerja sama: Apakah kita perlu mengatur perakitan dan dukungan di tempat.

04.
Teknik dan Desain Teknis
Setelah desain disetujui dan kontrak ditandatangani, proyek memasuki fase desain teknis. Ini melibatkan persiapan gambar rekayasa terperinci yang menentukan bahan yang digunakan, struktur chandelier, komponen listrik dan persyaratan pemasangan. Insinyur bekerja erat dengan perancang untuk memastikan bahwa lampu gantung tidak hanya bagus, tetapi juga secara struktural sehat dan memenuhi semua standar keselamatan.
Aspek kunci meliputi:
- Integritas Struktural: Pastikan berat lampu gantung didukung dan seimbang.
- Desain Listrik: Merancang komponen kabel dan pencahayaan untuk memenuhi kode listrik.
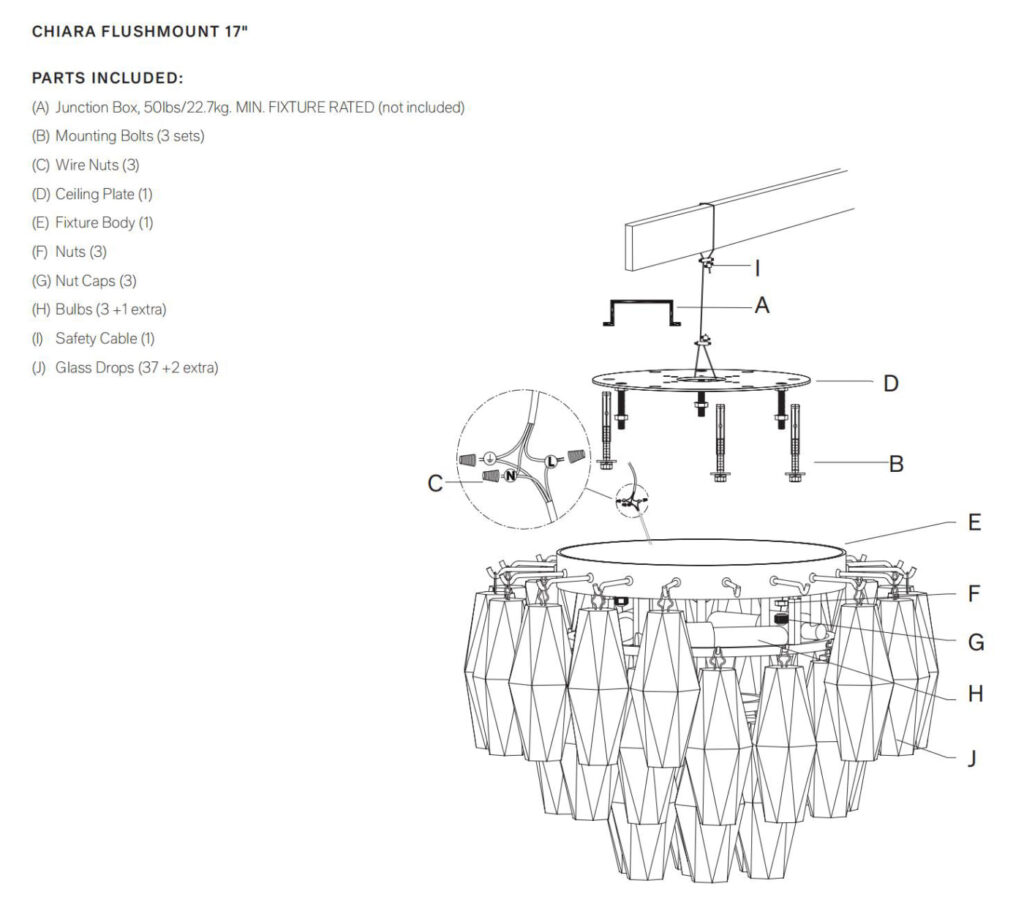
- Perencanaan Instalasi: Buat gambar dan instruksi instalasi untuk instalasi yang mulus.
05.
Sumber materi dan produksi perangkat keras
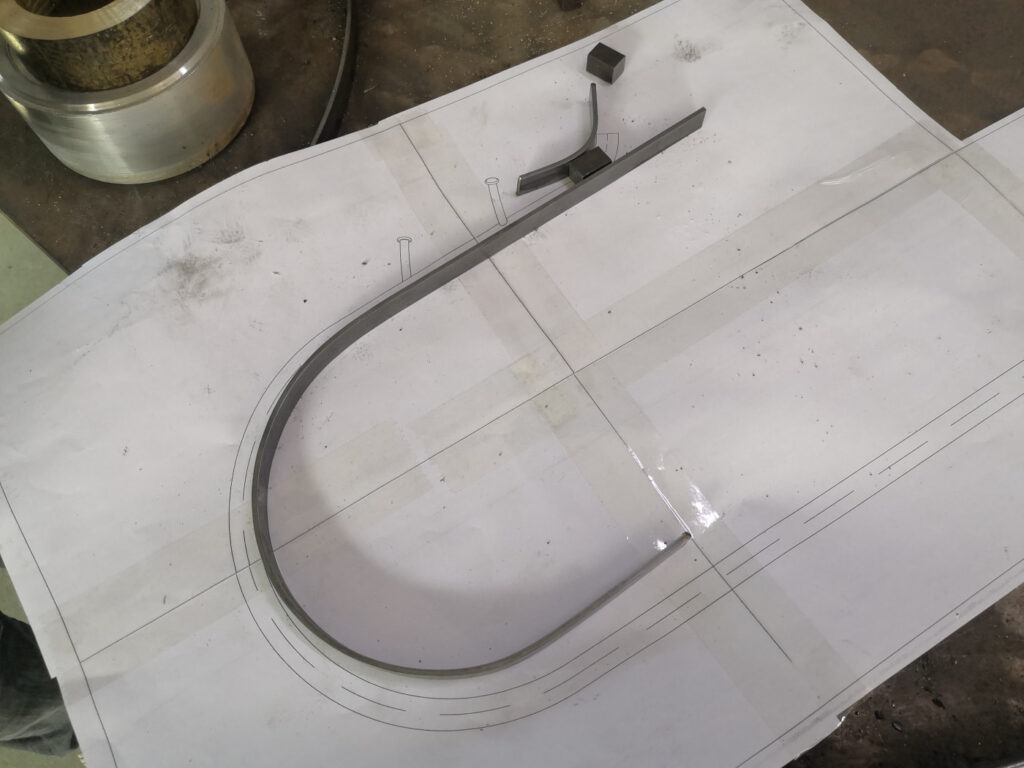
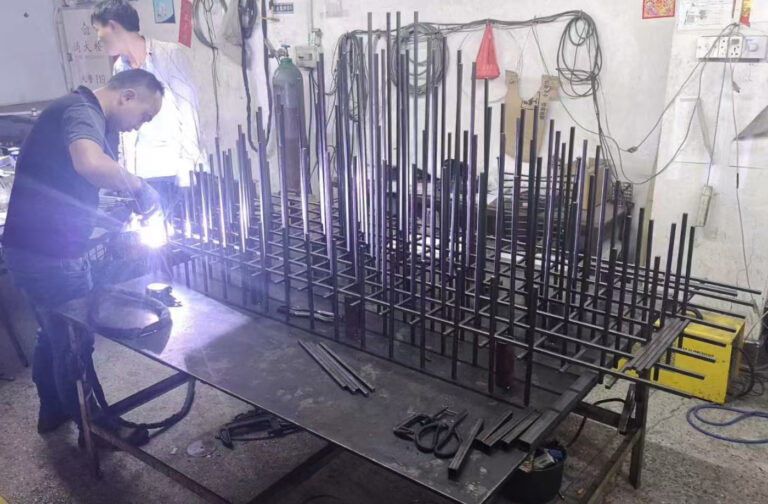
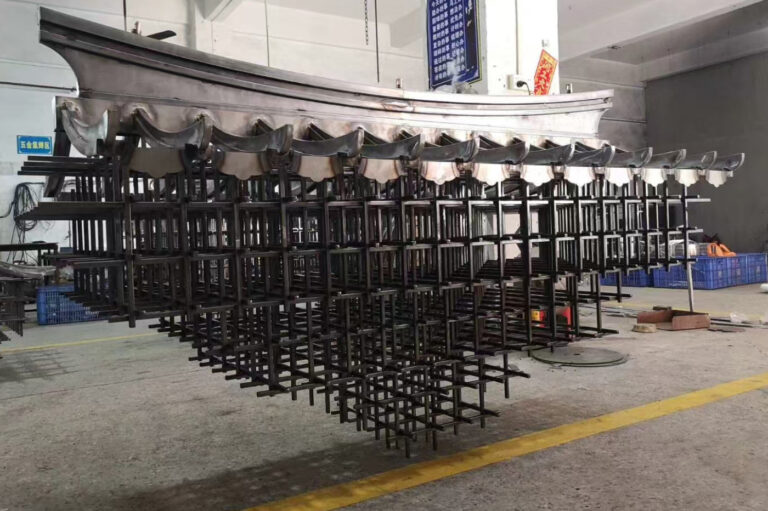
Setelah gambar desain diselesaikan, langkah selanjutnya adalah sumber bahan terbaik dan memulai proses produksi. Personel produksi secara ketat mengikuti gambar untuk menghasilkan perangkat keras, dan jika ada struktur yang tidak masuk akal, mereka akan segera berkomunikasi dengan perancang dan mengajukan rencana optimasi yang sebenarnya; Pembeli perlu mendapatkan kembali sampel untuk mengkonfirmasi apakah itu cocok dengan perangkat keras sebelum mengkonfirmasi produksi aksesori dalam jumlah besar; Ketika ada kebutuhan untuk penyesuaian, perancang harus memodifikasi gambar dan berkomunikasi dengan pelanggan tentang kelayakan detail segera. Setelah produksi perangkat keras selesai, seluruh lampu gantung langit-langit dirakit untuk mengkonfirmasi apakah masih ada bagian yang tidak masuk akal atau tidak bagus, penyesuaian ulang, dan kemudian digantung untuk jangka waktu tertentu untuk menguji stabilitasnya, dan kemudian membongkar hari berikutnya untuk memulai proses warna. Setiap bagian lampu gantung diproses dengan hati -hati untuk memastikan bahwa produk akhir memenuhi standar kualitas tertinggi.
Proses utama meliputi:
- Pemilihan material: Pemilihan logam, kaca, kristal, dan bahan lainnya dari pemasok jangka panjang tepercaya.
- Produksi: Forging, Lasering, Bending, Welding, Shaping, menggiling dan memoles bahan sesuai dengan desain.
- Tes Hanging: Dengan cermat merakit semua perlengkapan, bahkan jika mereka tidak berwarna, sehingga pengerjaan dapat dilihat sebagai lampu gantung yang sangat menarik.
- Produksi: Forging, Lasering, Bending, Welding, Shaping, menggiling dan memoles bahan sesuai dengan desain.
- Tes Hanging: Dengan cermat merakit semua perlengkapan, bahkan jika mereka tidak berwarna, sehingga pengerjaan dapat dilihat sebagai lampu gantung yang sangat menarik.
06.
Kontrol kualitas
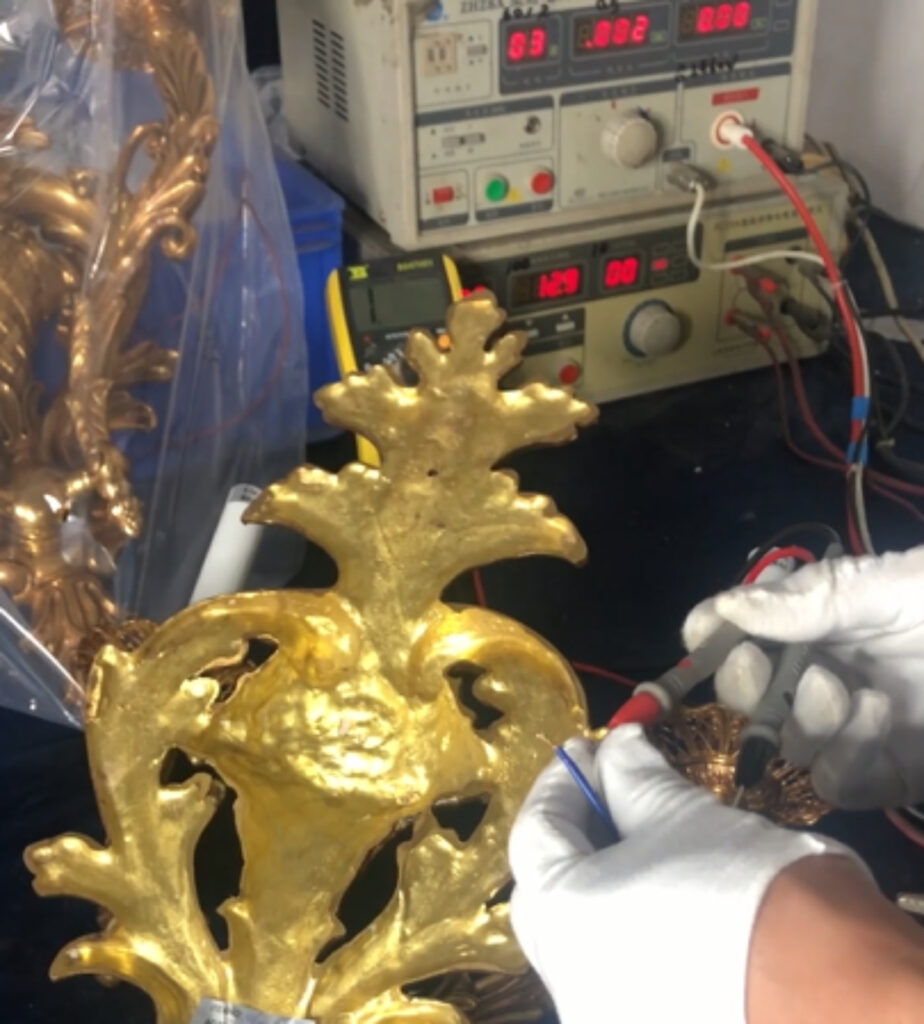
Semua lampu gantung tunduk pada inspeksi kontrol kualitas yang ketat sebelum meninggalkan pabrik kami. Inspeksi bahan baku, inspeksi produk semi-selesai perangkat keras, inspeksi proses, tegangan tinggi, resistensi dan uji pencahayaan, inspeksi produk jadi dan sebagainya. Ini termasuk pengujian integritas struktural, komponen listrik dan estetika keseluruhan, dll. Jika ada masalah, penyesuaian akhir dilakukan sesuai kebutuhan. Untuk memastikan bahwa semuanya sempurna dan memenuhi standar pengiriman.
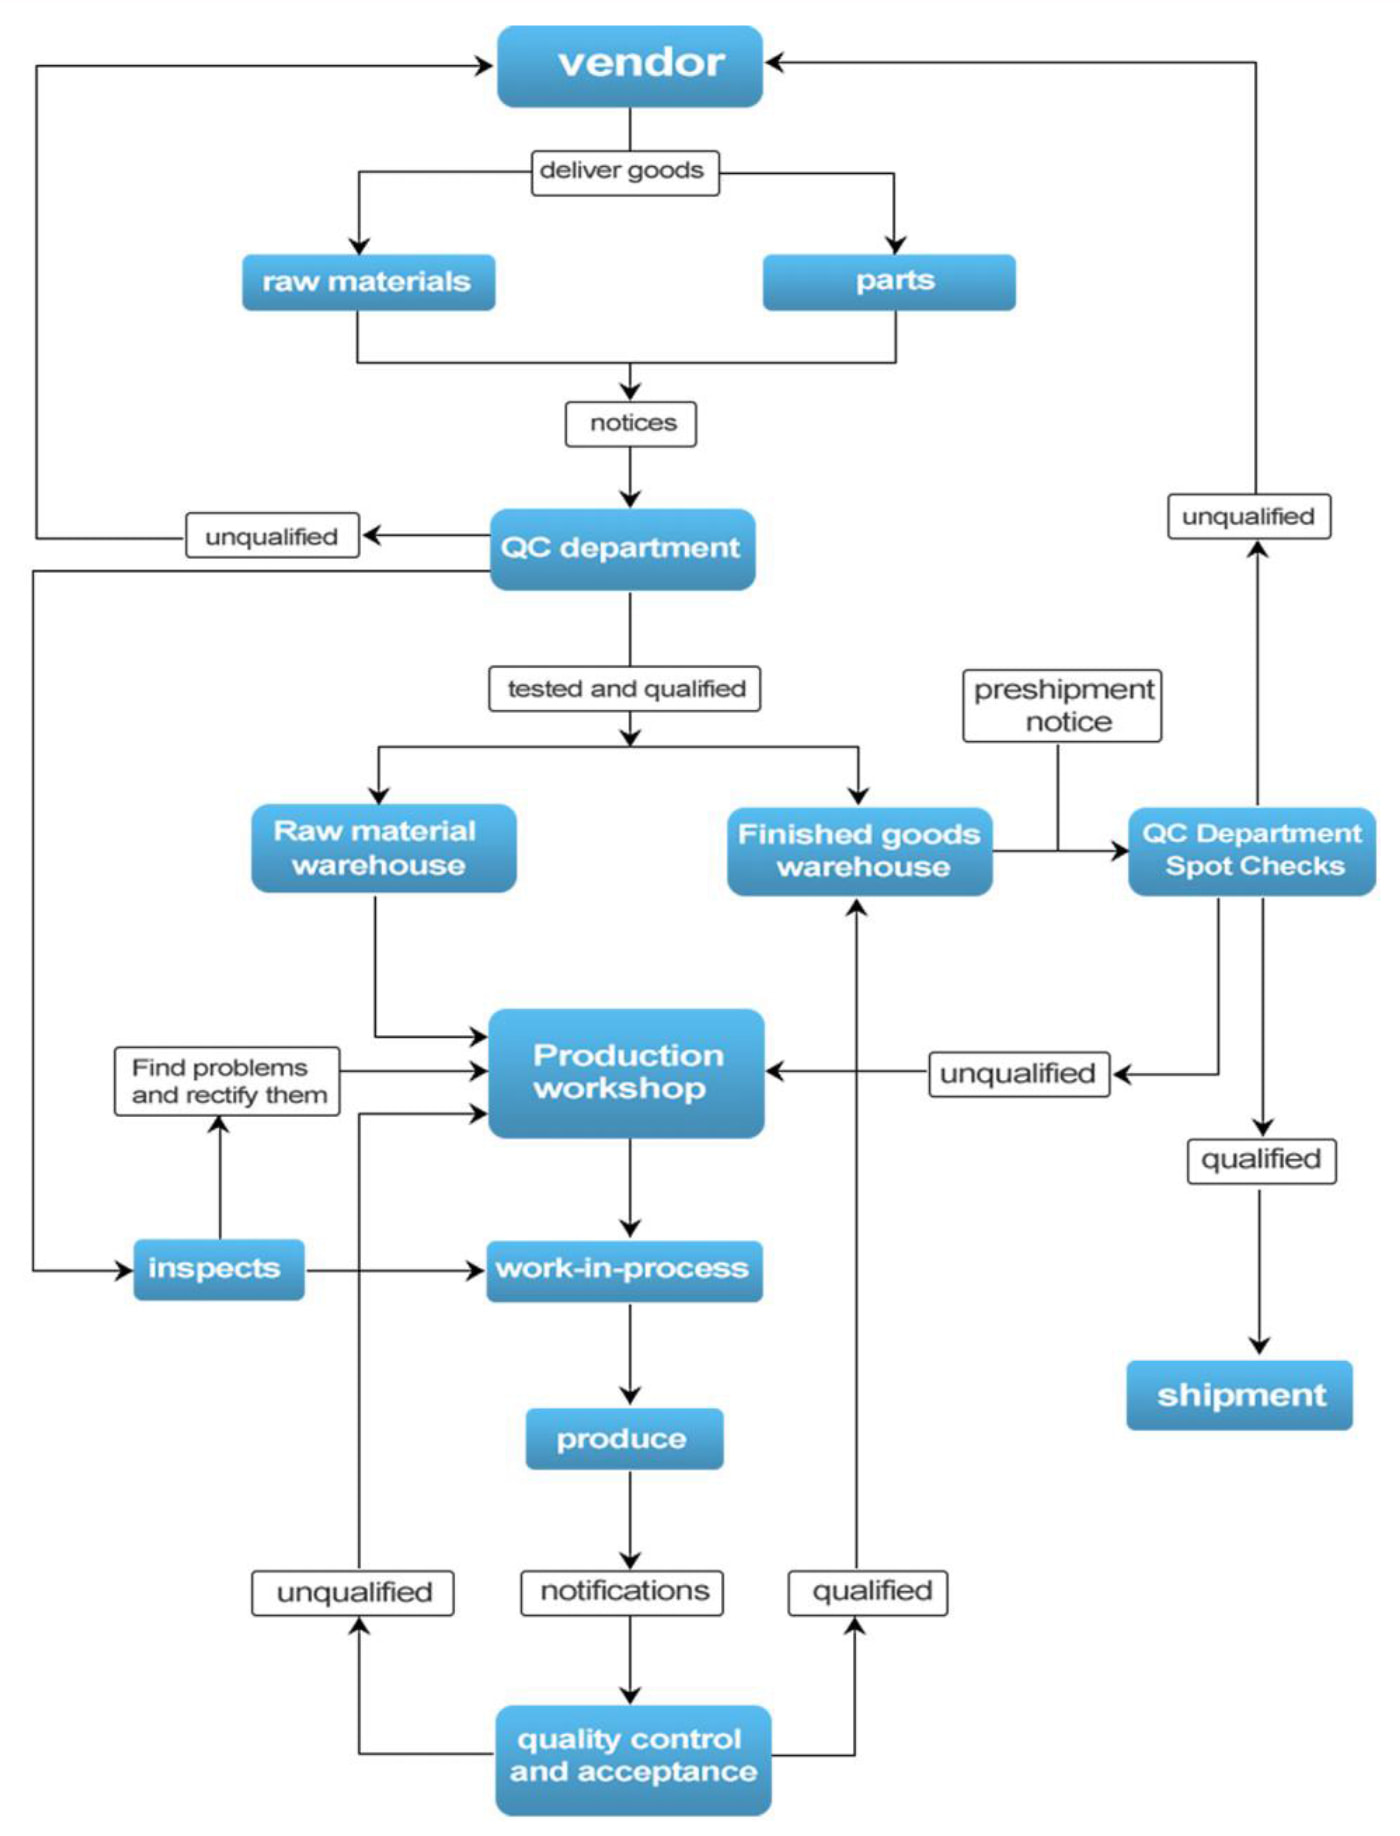
Aspek Kunci Kontrol Kualitas:
- Pengujian Struktural: Pastikan semua komponen benar, aman dan stabil.
- Tes pencahayaan: Periksa semua lampu gantung untuk fungsi yang tepat, uji tegangan dan resistensi tinggi, dan uji pencahayaan.
- Inspeksi produk jadi: Periksa apakah perlakuan permukaan, bahan memiliki cacat.
- Tes pencahayaan: Periksa semua lampu gantung untuk fungsi yang tepat, uji tegangan dan resistensi tinggi, dan uji pencahayaan.
- Inspeksi produk jadi: Periksa apakah perlakuan permukaan, bahan memiliki cacat.
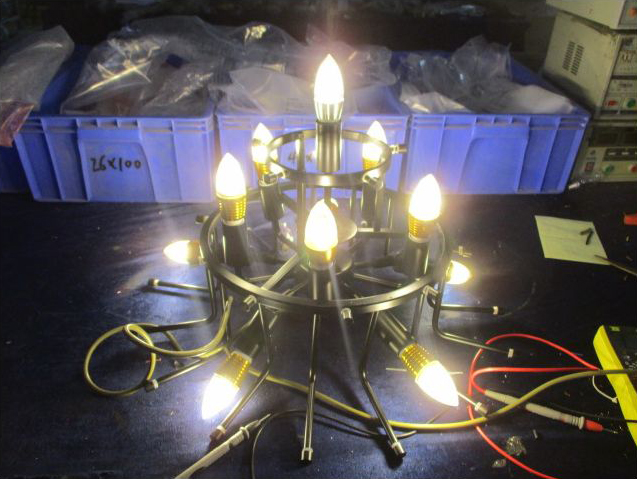
1. Test untuk melihat apakah akan menyala
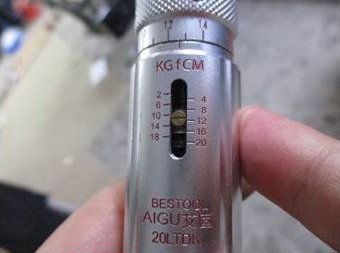
2. Torsi kepala lampu terkontrol pada pukul 12

3. Tes Torque
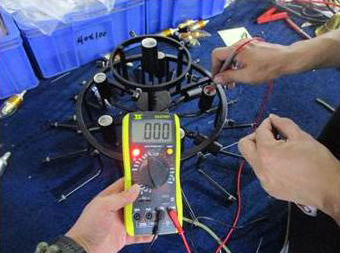
4. Tes positif dan negatif dengan multimeter
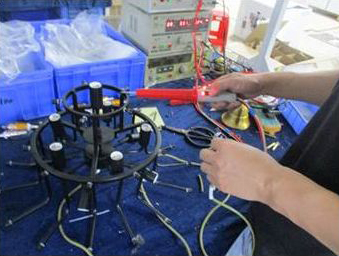
5. Pengujian tegangan tinggi

6. Tes tanah
07.
Pengemasan dan Pengiriman
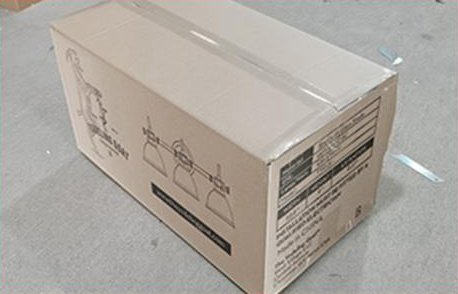
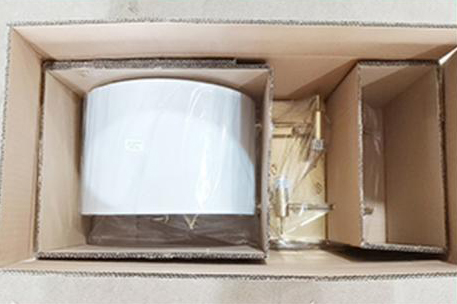
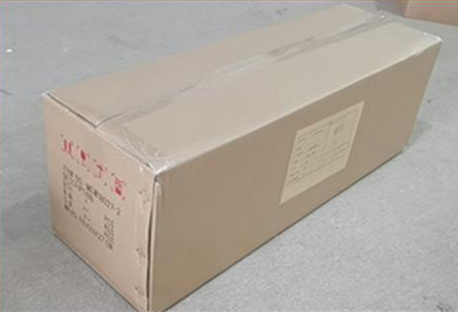
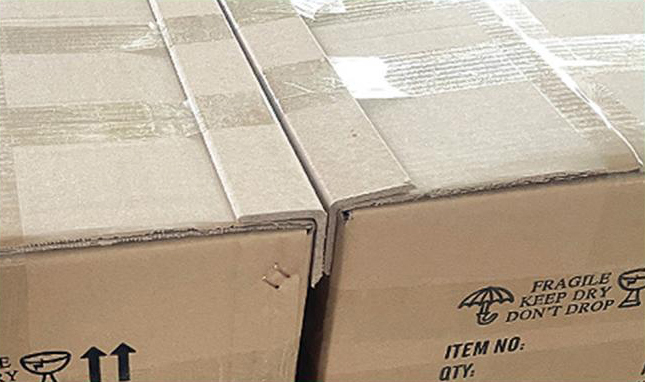
Setelah lampu gantung melewati semua pemeriksaan kualitas, itu akan dikemas sesuai dengan metode pengemasan yang berbeda, beberapa yang besar perlu dibongkar dan beberapa dapat dikemas secara keseluruhan. Pengemasan harus dilakukan dengan perawatan ekstra untuk melindunginya dari kerusakan selama transportasi dan untuk memastikan bahwa itu dapat diangkut dalam jarak jauh. Sebagian besar produk harus dapat lulus tes drop. Tergantung pada ukuran dan kompleksitas lampu gantung, kardus atau bungkus gelembung dapat digunakan, dan lampu gantung yang sangat besar dapat dikemas dalam peti kayu khusus.
Langkah kunci meliputi:
- Konfirmasi metode pengemasan: lampu gantung besar harus dibongkar dan dikemas dalam urutan di mana mereka dirakit. Beberapa perlengkapan yang lebih kecil dapat dikemas dalam satu potong.
- Kemasan pelindung: Gunakan bungkus gelembung, kemasan kardus, peti khusus dan bahan lainnya untuk memastikan pengiriman yang aman.
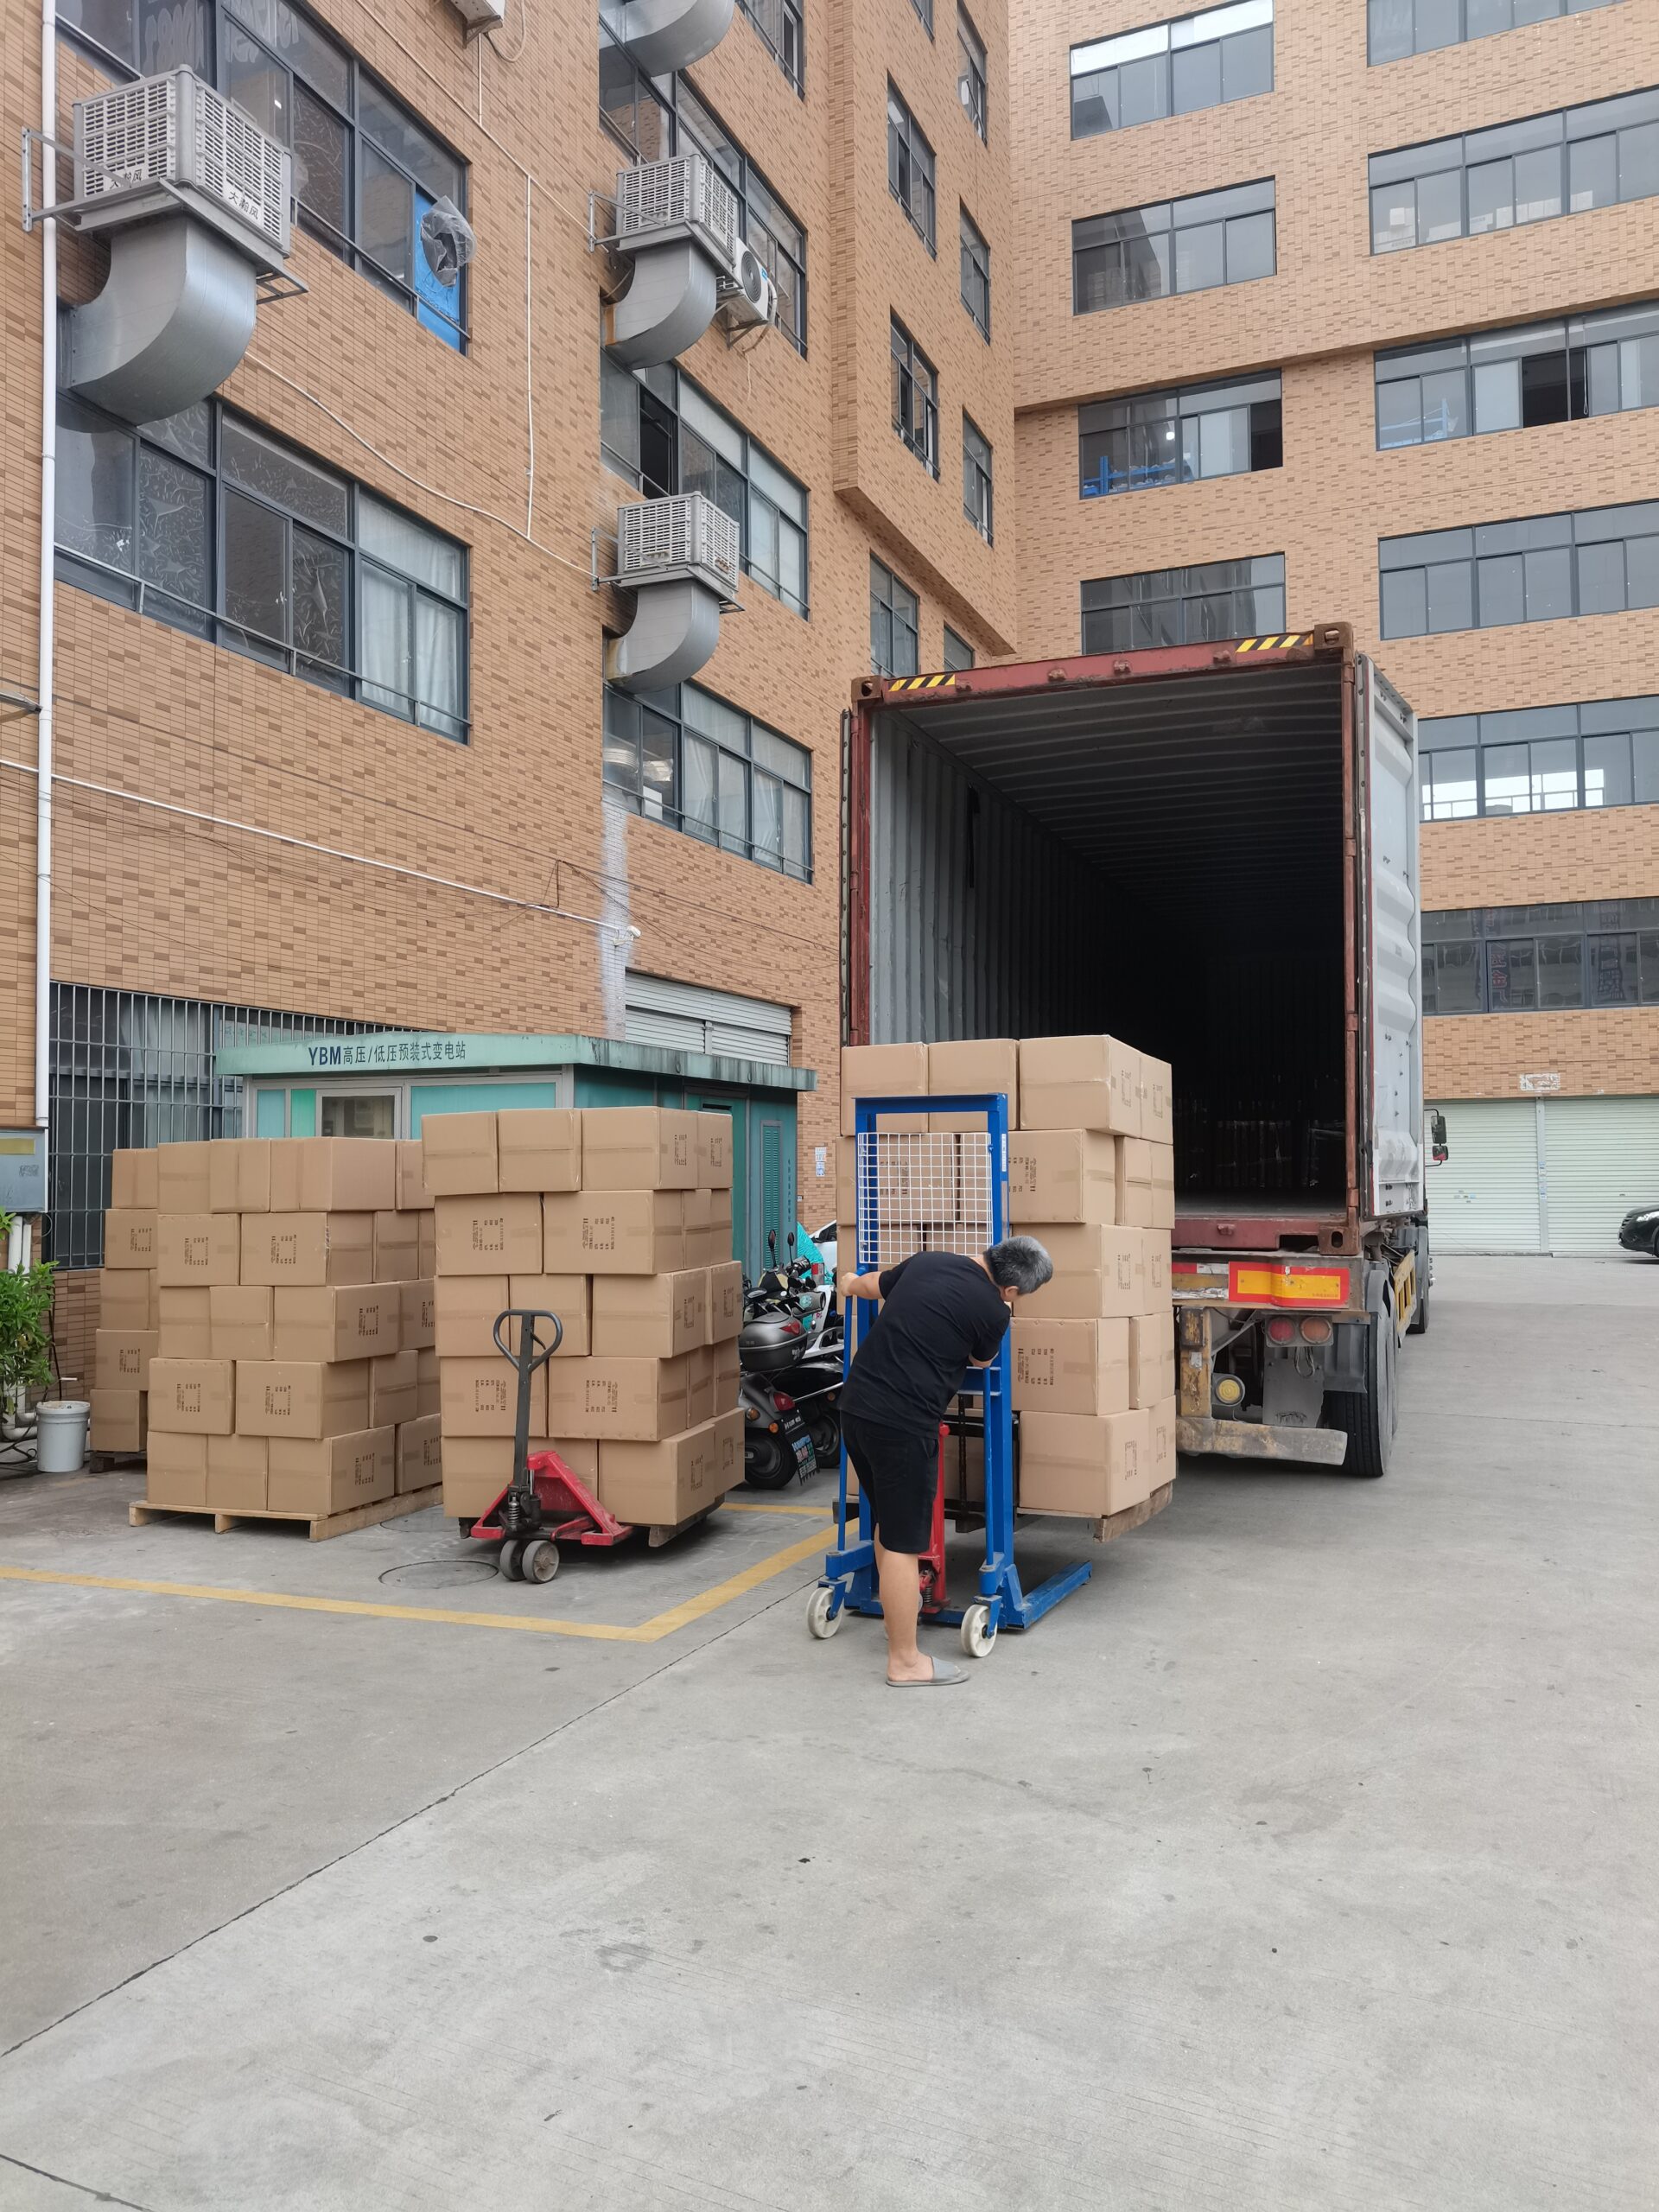
- Koordinasi Logistik: Atur untuk transportasi dan pengiriman ke situs instalasi.
08.
Pemasangan dan penyesuaian akhir
Langkah terakhir adalah instalasi. Bergantung pada kebutuhan klien, ukuran dan kompleksitas lampu gantung, tim kami mungkin dapat membantu instalasi atau memberikan instruksi terperinci kepada kontraktor klien. Untuk lampu gantung besar, gambar kami sangat rinci, jadi jika Anda tidak membutuhkan kami untuk menginstalnya, cukup ikuti instruksi instalasi kami langkah demi langkah akan baik-baik saja. Setelah instalasi selesai, lampu gantung akan menyala dan penyesuaian akhir akan dilakukan untuk memastikannya terlihat sempurna di lingkungan barunya.
Tugas instalasi utama meliputi:
- Pemasangan: Kencangkan lampu gantung dengan aman ke langit -langit atau struktur pendukung.
- Koneksi Listrik: Pastikan semua kabel terhubung dengan benar dan sesuai dengan peraturan lokal.
- Penyesuaian akhir: Lakukan penyesuaian yang diperlukan untuk lampu gantung.
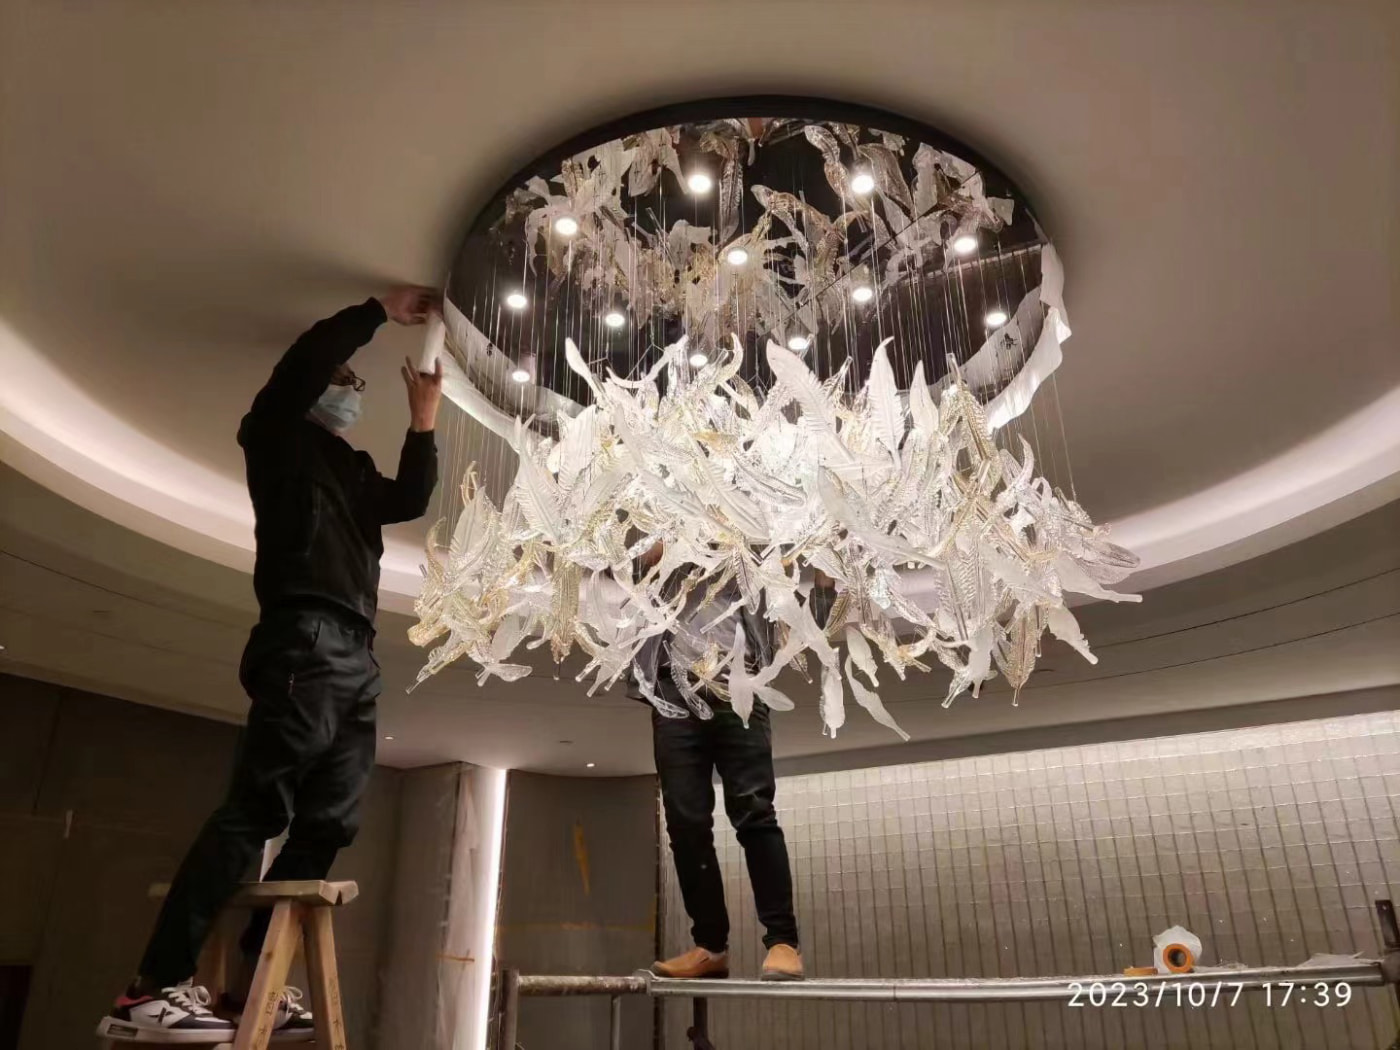
Chandelier khusus adalah ekspresi sejati seni dan teknik, dan membutuhkan proses yang terperinci dan kolaboratif untuk menghidupkan visi klien. Dari konsultasi awal hingga instalasi akhir, setiap langkah ditangani dengan sangat hati -hati dan perhatian terhadap detail untuk memastikan bahwa hasil akhirnya bukan hanya perlengkapan, tetapi juga sebuah mahakarya yang akan meningkatkan ruang apa pun.


